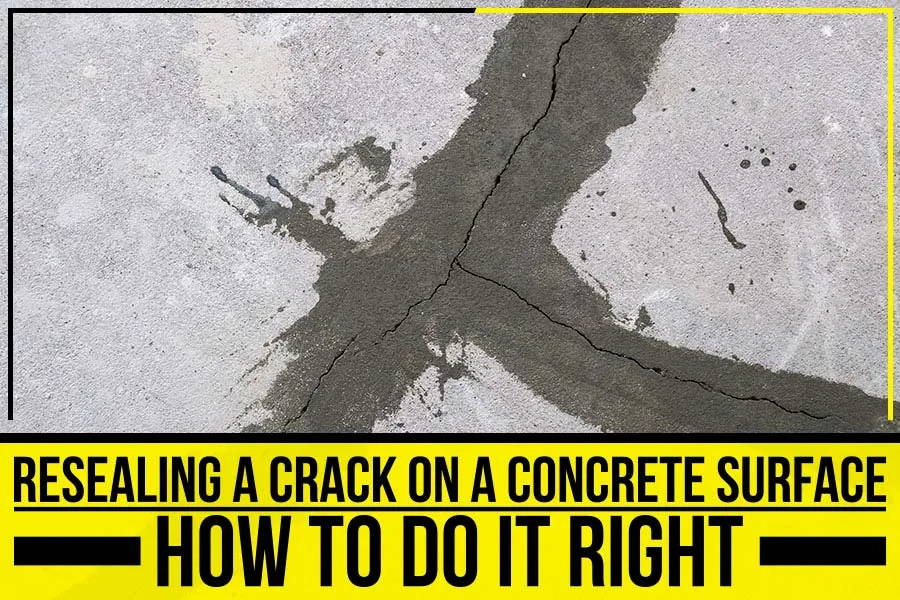
You might have noticed a crack in your driveway at times but didn’t think anything of it since you sealed it? Over time, that sealant can wear off, and the crack can become a bigger problem.
In this blog post, Standard Paving & Concrete will outline the best practices for resealing a previously sealed crack so that you can keep your home protected from water damage and other potential problems.
Follow these tips, and you’ll be able to rest easy knowing that your home is safe!
Clean the Crack Thoroughly before Resealing it:
The first step is to clear out any dirt, debris, or loose sealant from the crack. You can do this with a wire brush or a putty knife. Get rid of the old sealant to have a clean surface to work with. Cleaning will ensure that the new sealant will have a good surface to adhere to.
Use a High-Quality Sealant:
Use a high-quality product when you’re ready to apply the new sealant. It will ensure that your crack is adequately sealed and protected from the elements. If the quality of the sealant is not up to mark, the crack will likely reappear soon. A suitable quality sealant will prove a good investment in the long run.
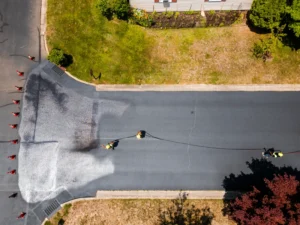
Apply the Sealant in the Right Weather:
The ideal weather conditions for applying sealant are warm and dry. If it’s too cold, the sealant will not adhere properly. If it’s too hot, the sealant can become brittle and crack. In either case, you won’t get the desired results. Be sure to wait for a warm, dry day before applying the sealant!
Prepare the Crack for Sealing:
If any algae or moss grows in the crack, use a pressure washer to remove it. If you find that the crack is deep, fill it with sand to level with the rest of the surface. Once that’s done, use a brush to remove debris or loose material from the sides of the crack.
Apply the Sealant in Multiple Thin Layers:
One of the most common mistakes when resealing a crack is applying one thick sealant layer. A thick sealant can do more harm than good because it can cause the sealant to peel off or crack. Instead, use multiple thin layers, allowing each one to dry before adding the next.
Smooth it out:
Once applied the sealant, use a putty knife or another flat object to smooth it out. Smoothing out will help it blend in with the rest of the surface and make it less noticeable.
Use a V-Shaped Notch:
Use a V-shaped notch instead of a round one when applying the sealant. A V-shaped notch will help ensure that the sealant stays in place and doesn’t run out of the crack.
Seal the Ends of the Crack:
It is necessary to seal the ends of a crack, not just the sides. Sealing the ends will help prevent water from seeping in and causing further damage.
Allow Ample Time for Drying:
Once you’ve applied all of the sealants, allow plenty of time to dry. It’s essential to be patient when applying this sealant because the process can take 24 hours. Once dry, your concrete will be no longer vulnerable, and you won’t have any problems with water damage or other issues, thanks in large part to its new protection!
If you have a crack in your concrete, don’t panic! Sealing it is an easy fix that can prevent more significant problems. Our team at Standard Paving & Concrete has years of experience in asphalt paving and sealing cracks, so we know how to do it right.
We offer commercial asphalt paving services and concrete paving in Glen Burnie, MD, so no matter what kind of surface you need to be sealed, we can help.
Get a free estimate today, and let us take care of everything for you.